Before Motionprint Ergo can turn sensor data into accurate joint angles, it needs to know the subject's body dimensions and exactly how each sensor is oriented on their body. That's what calibration does — the same N-pose or T-pose and walk calibration that Xsens MVN itself relies on, now built into Motionprint Ergo's own recording flow.
1 Why calibration matters
Sensors report their own orientation and acceleration, not joint angles directly. To convert that raw data into a meaningful skeleton, Motionprint Ergo needs a known reference: how the sensors sit relative to the subject's actual body segments, and roughly how long each segment is. Calibration captures that reference once at the start of a session, so every recording that follows is measured against it.
A poor calibration shows up later as implausible joint angles or a skeleton that doesn't match the subject's real movement — so it's worth taking a moment to get it right before recording.
2 N-pose or T-pose
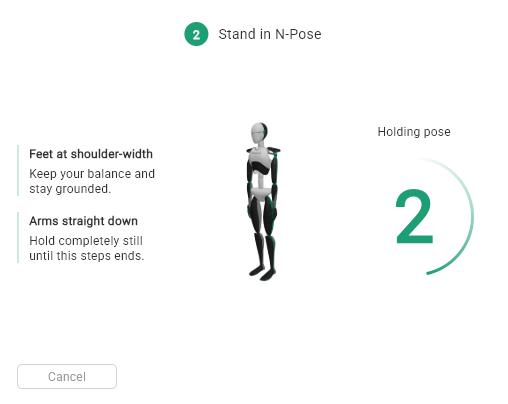
The first step asks the subject to hold a static reference pose for a few seconds: either an N-pose (standing naturally, arms at the sides) or a T-pose (standing with arms extended horizontally). Both are standard Xsens MVN calibration poses, and Motionprint Ergo supports either — use whichever one you're used to, or whichever is more practical given the space around the subject.
- Stand naturally with feet roughly shoulder-width apart
- Hold the chosen pose still for the duration shown on screen
- Avoid leaning, shifting weight, or talking during the hold
3 Walk calibration
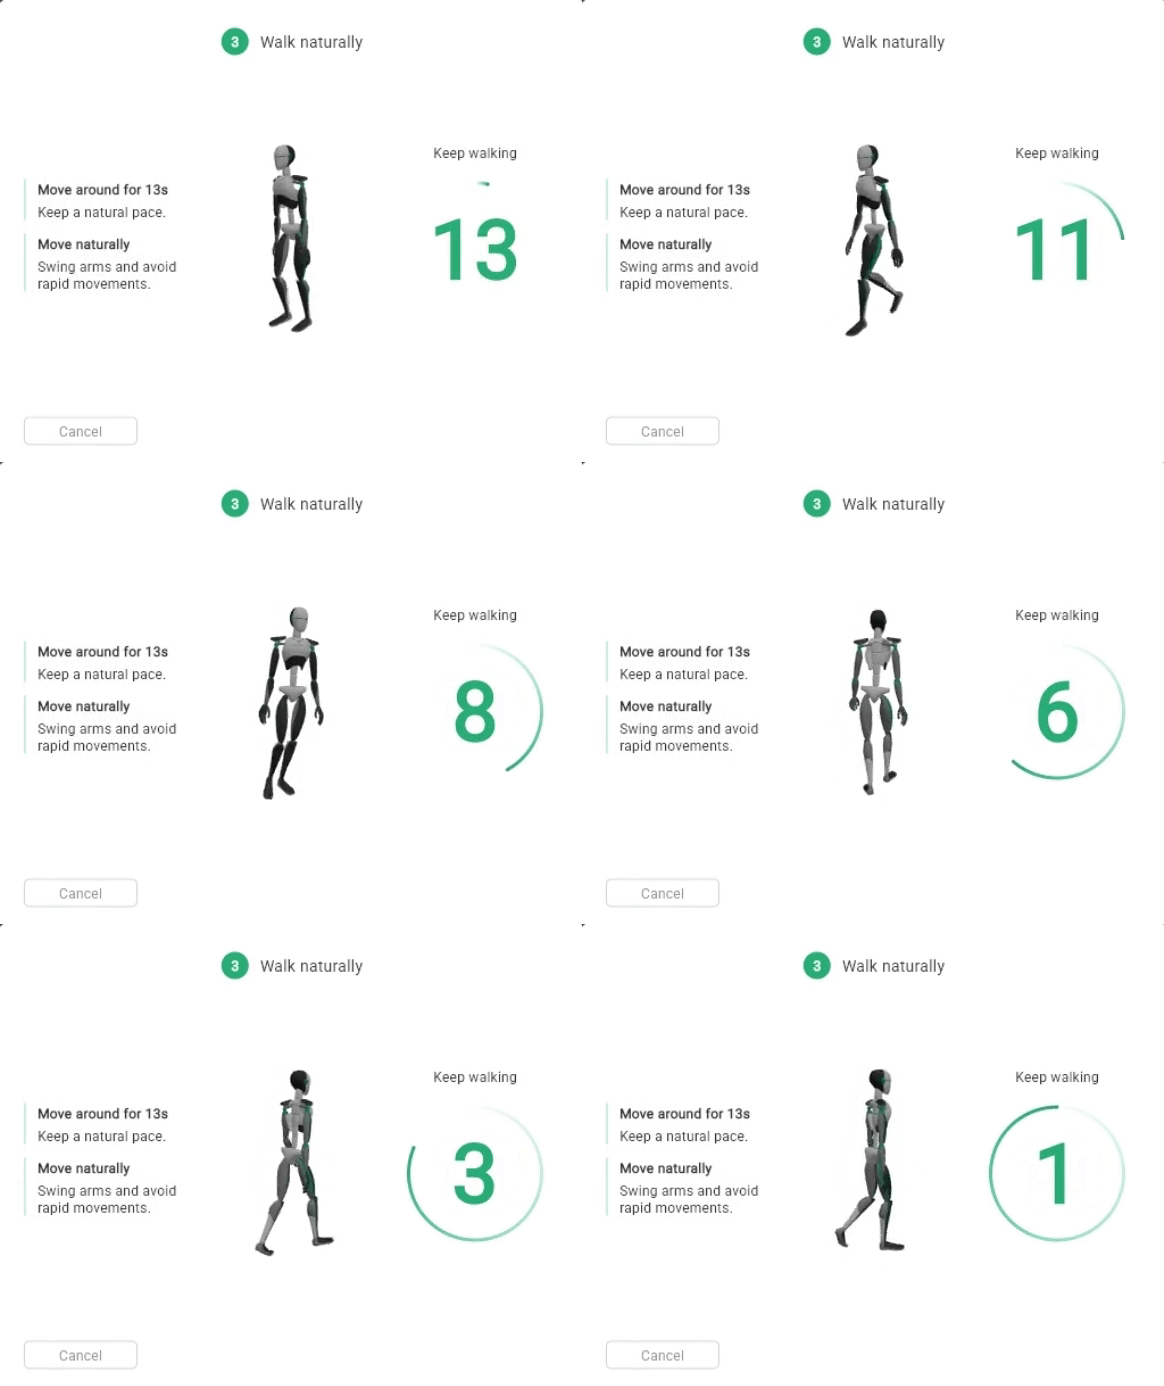
After the static pose, the subject keeps walking continuously for about 13 seconds while a "Keep walking" countdown ring shows the time remaining. This lets the system refine joint alignment using natural gait, which the static pose alone can't fully capture.
- Keep walking at a normal, comfortable pace for the full duration of the countdown — don't stop early
- Walk forward and back, or in a loop, rather than just a step or two — the system needs several full gait cycles
- Swing your arms naturally and avoid turning sharply or shuffling
- Make sure there's enough clear space nearby to walk continuously without bumping into anything
4 Running the calibration flow
The calibration flow is part of the guided setup you go through before recording, right after hardware setup. Onscreen prompts tell the subject when to hold the pose and when to walk, and the 3D preview lets you confirm the skeleton looks correct — proportioned sensibly and moving the way the subject is actually moving — before you continue to recording.
Calibration assumes sensors are already correctly assigned to body segments. If a sensor is assigned to the wrong segment, calibration will look off however carefully it's performed — see Hardware Setup & Sensor Troubleshooting first.
5 Calibration quality
As soon as calibration finishes, Motionprint Ergo rates how good it was: good, acceptable, poor, or failed. Anything other than "good" comes with specific tips for what to fix before you record, for example:
- Stay completely still during the N-pose or T-pose hold, right until the step ends
- Walk forward and back at a normal speed with natural arm swing, rather than a shuffle or a sharp turn
- Move away from metal objects or other strong magnetic sources nearby
- Check tracker placement and tighten straps that may have slipped
- Keep stable foot contact with the floor during the static steps
A "poor" or "failed" result is worth re-running before you record — see Troubleshooting a failed calibration below.
6 Recalibrating mid-session
A session can hold multiple recordings, and the calibration from the start of the session applies to all of them. If a sensor slips, a subject changes into different clothing or footwear, or you simply want a fresh reference before an important recording, you can run the calibration flow again without starting a new session.
7 Troubleshooting a failed calibration
If the 3D preview after calibration looks wrong — a limb bent at an odd angle, a joint that doesn't track when the subject moves it, or a skeleton that's clearly the wrong proportions — don't continue to recording. Instead:
- Confirm every sensor is assigned to the correct body segment
- Check that sensors are snugly attached and haven't shifted since setup
- Re-run the static pose, holding it fully still for the whole duration
- Re-run the walk, keeping a steady, continuous pace for the full countdown rather than stopping early or shuffling
If the issue persists after a re-run, it's usually a hardware setup problem rather than a calibration one — see Hardware Setup & Sensor Troubleshooting.
Once calibration looks right in the 3D preview, you're ready to start recording — see Record Xsens Data Live.